
The short answer
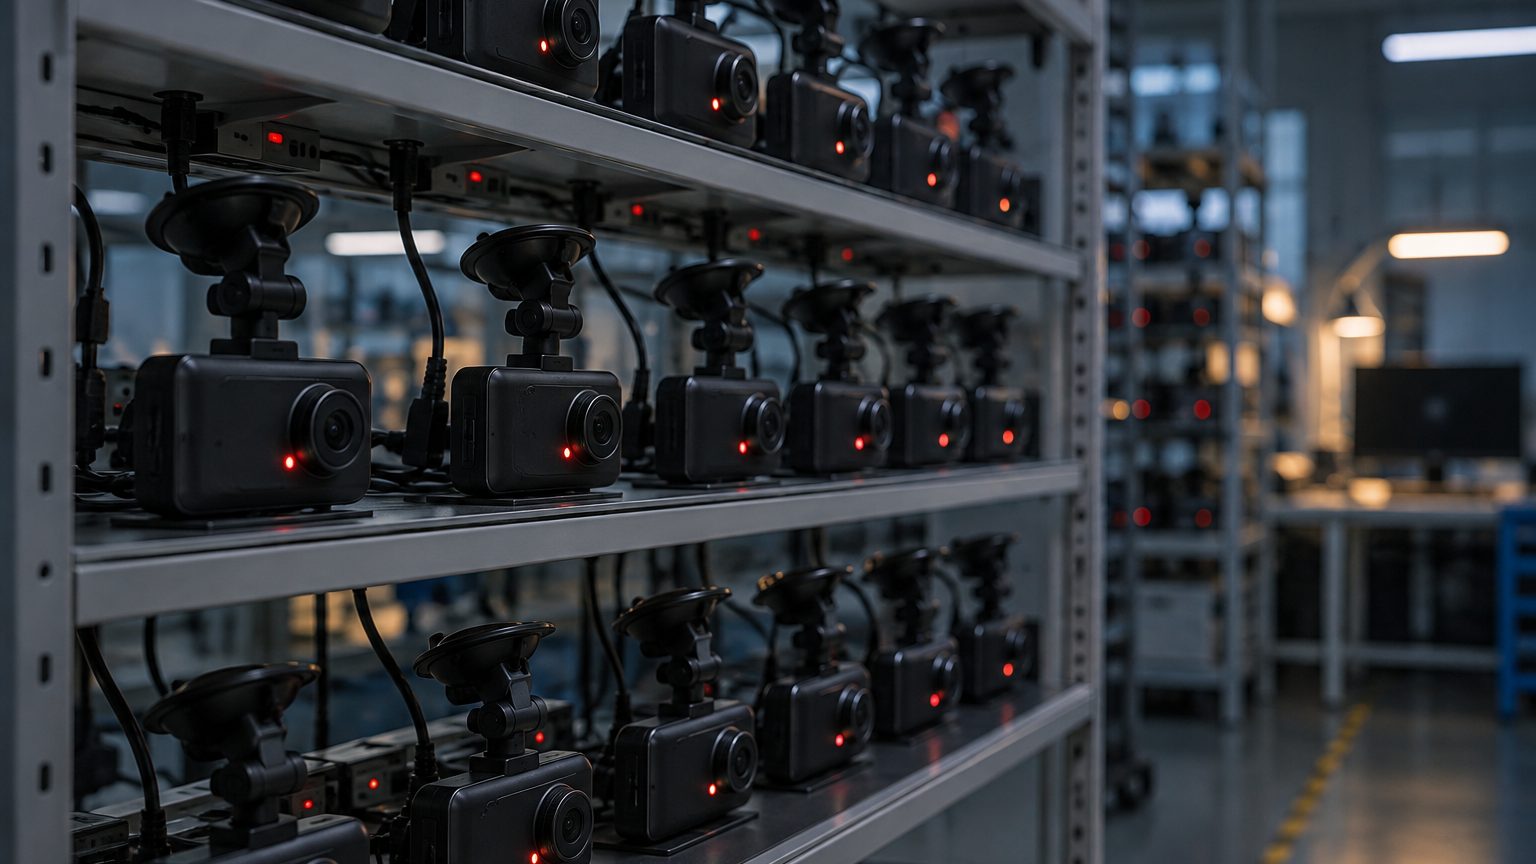
A dash cam functional test is a checklist run on a finished unit that confirms every feature works: it powers up, records, plays back, locks an event clip when the G-sensor is triggered, acquires a GPS position if fitted, pairs over WiFi with a phone app if fitted, and responds to its buttons and screen. At partner factories it usually runs on the line after firmware flashing and before burn-in, either on every unit or on a sample, depending on the program. The depth differs between factories, so the test list for your model is confirmed in writing and appears in the program sheet. The same checklist, in a simpler form, works as a sample test at your desk.
The test list
| Function | How it is checked | Typical failure |
|---|---|---|
| Power and boot | Apply power, observe startup and recording indicator | No boot, repeated reboots |
| Video recording | Record a clip, play it back | Black frames, no audio, file errors |
| Date and time | Check clock and stamp setting | Wrong default time or format |
| G-sensor event lock | Tap or tilt the unit, check that a locked file appears | No lock, too sensitive or too dull |
| GPS | Time to first fix, speed and position in the stamp | Never locks, wrong coordinates |
| WiFi and app | Pair with a phone, view live image, download a clip | Pairing fails, slow transfer |
| Buttons and screen | Press each button, view menus | Dead pixels, sticking buttons |
| Card handling | Insert, format, remove, reinsert | Card not recognized, write errors |
| Rear or cabin camera | Check image and channel assignment | Channels swapped, no signal |
| Reset and defaults | Factory reset restores settings | Settings kept, language wrong |
G-sensor checks
The G-sensor decides which clips are protected from loop overwriting, so it deserves more attention than its size suggests. On the line a unit is tapped or moved to see that a lock is triggered. The harder question is calibration: the default sensitivity should lock a real impact but ignore a pothole or a door closing. A sensor that is too sensitive fills the protected folder with trivial clips and eventually leaves the card full of locked files. One that is too dull misses the event. Many models offer low, medium and high settings, and a buyer for a fleet might want the factory default set to match vehicle type. See loop recording and event lock for how the system behaves once triggered.
GPS and WiFi
GPS testing at the line normally requires a signal source or an outdoor window, since a unit deep inside a metal-roofed workshop may never find satellites. Factories handle this with a simulated signal, a roof antenna feed or a spot test per batch. Ask which method is used and what time to first fix is accepted. For benefits and limits of GPS in the footage stamp, see GPS in dash cams. WiFi testing checks that the unit starts its hotspot, that the app pairs, that the live view works and that a clip downloads without errors. Radio behavior in the final market is a separate compliance subject covered on the certifications page; a functional test shows that the radio works, not that it is certified. App-related behavior is described in WiFi and app dash cams.
Running a simple version on samples
- Charge and card. Use the card type that will be bundled, newly formatted in the unit.
- Record a ten-minute loop in the car or at a window; check the files play and the stamp is right.
- Trigger the G-sensor with a firm tap and confirm a locked clip. Try a gentle bump to see that it does not lock.
- GPS test outdoors. Note the time to first fix and compare speed with the vehicle.
- Pair a phone and download a clip; repeat after a power cycle.
- Cut power during recording and check the last file is saved. This tests the power buffer.
- Repeat on three units and write down every difference.
The power-cut test is often forgotten and reveals a lot: a weak supercapacitor or a poor firmware routine leaves a corrupt last file. That connects to corrupted files, one of the most frequent complaints in aftersales.
Limits of functional testing
A functional test shows that a feature works at that moment. It does not show how long it works, how it behaves at temperature extremes, or whether the firmware survives unusual sequences. That is the job of burn-in, temperature sampling and firmware quality work. It also depends on the test fixtures: a bench with stable power can hide the voltage dips of a car. Treat the functional test as a gate, not a full proof, and layer the other checks on top.
Testing two-channel and rideshare units
Units with a second camera multiply the checklist. A front-and-rear set has two lenses to focus and two channels to verify, and the common faults are swapped channels, a rear camera that records but is soft, and a cable that works on the bench but drops out when the door is opened and closed. A rideshare unit adds the infrared cabin channel: the IR illuminators must light, the cabin image must be usable in a dark interior, and the privacy defaults should match what your market expects. Ask the factory to test both channels with the actual cable length to be shipped, since a longer cable can change signal quality. For fleet buyers, add a check that both channels carry the correct time stamp and that event locking covers both streams at once, because an event clip where only one channel is protected is a frequent complaint. The desk adds these points to the program sheet for two-channel programs; see 4K front and rear and rideshare dash cams for the product side.
What to put in the program sheet
Ask for the test list per model, the share of units tested, the acceptance limit for GPS fix, the app version used for WiFi tests, and the action taken on a failed unit. The sourcing desk reviews these with the factory and records them on the quality control checklist. For a program that includes a rear camera, GPS and WiFi together, the desk adds each channel to the list. Send the feature set you need through the quote form to receive the matching test list.