
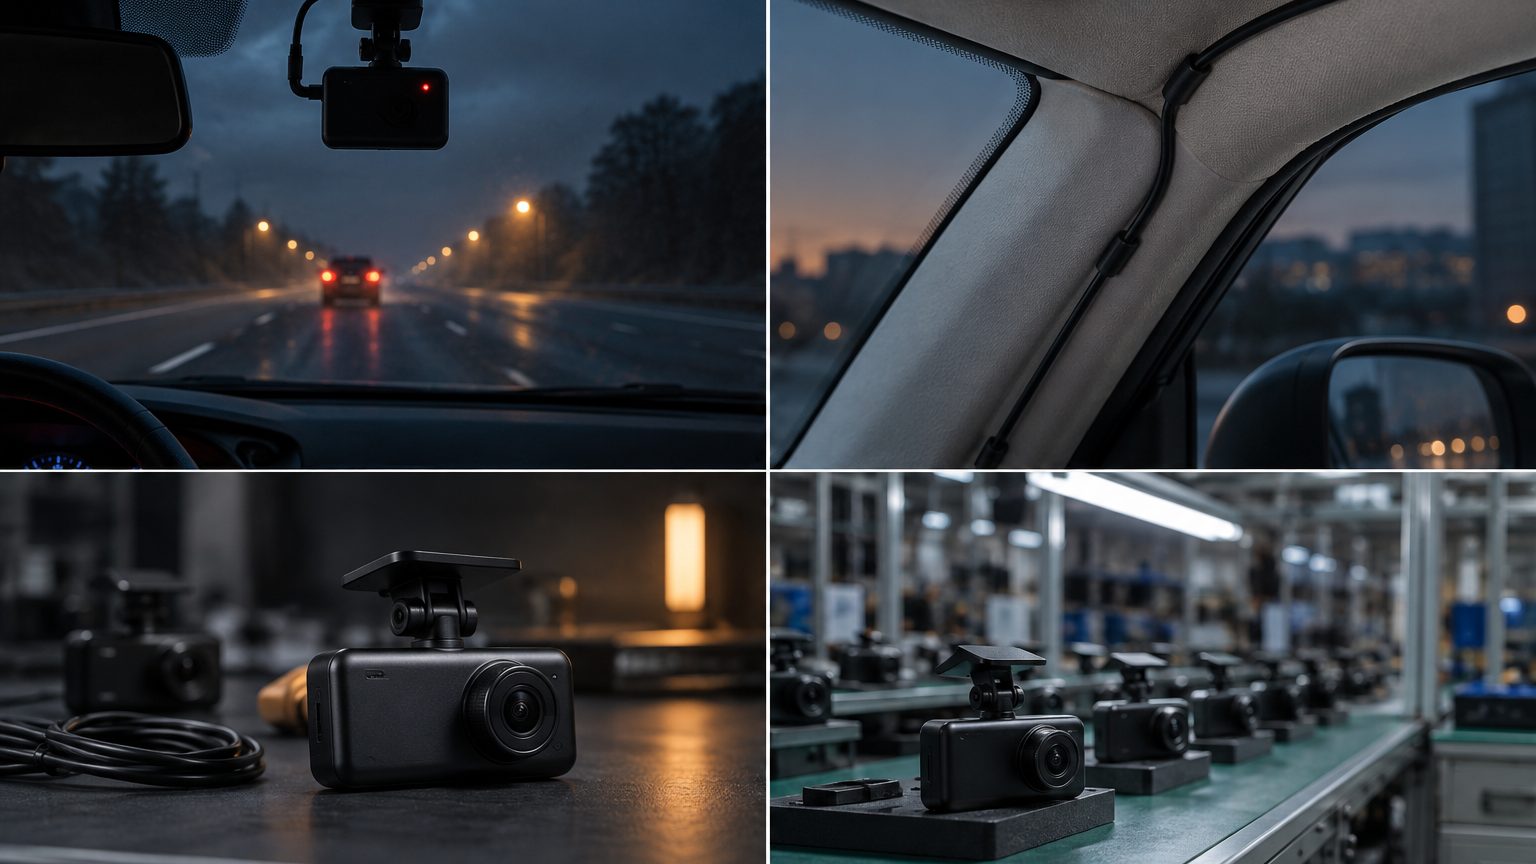
What hardwiring actually does
A hardwire kit is a power cable with a small control box, three wires and a fuse tap or two. It takes 12V from the car's fuse box, steps it down to 5V for the camera, and watches the car battery voltage so it can switch the camera off before the battery runs low. The three connections are a constant 12V feed (live all the time), an ignition-switched feed (live only with the key on), and a ground. With both feeds connected, the kit can tell whether the engine is running and switch to parking mode when it is not. The product range is described on the hardwire kit page, and the electronics are covered in the kit guide.
Tools and parts
| Item | Purpose | Note |
|---|---|---|
| Hardwire kit | Steps 12V down to 5V and cuts off at low voltage | Match the connector to the camera; 24V vehicles need a kit rated for 24V |
| Add-a-fuse taps | Draw power from a fuse slot without cutting wires | Match the fuse form factor: mini, low-profile mini, standard, micro |
| Spare fuses | Replace the original after tapping | Same rating as the original fuse |
| Test light or multimeter | Identify constant and switched slots | Essential, not optional |
| Trim tool and cable clips | Hide the cable | Plastic tools avoid scratches |
| Fuse puller | Remove fuses safely | Often clipped inside the fuse box lid |
Step by step
- Read the fuse diagram. Open the vehicle manual or the fuse box lid and locate the interior fuse box, often under the dash or behind the glove box. Note which slots are accessory circuits.
- Find a constant and a switched slot. With the ignition off, use the test light to find a slot that is live; with the ignition on, find a slot that is only live with the key. Pick low-current circuits such as the interior light for constant power and the accessory circuit for switched power.
- Fit the taps. Remove the original fuse, place it in the lower slot of the add-a-fuse tap, and fit a new fuse in the upper slot if the tap requires it. Push the tap into the fuse box in the orientation that puts the wire on the correct side.
- Connect the ground. Attach the ground lead to a bare metal bolt or screw connected to the chassis. Remove paint under the terminal if needed so the contact is metal to metal.
- Route the cable. Run it from the camera along the headliner and down the A-pillar to the fuse box, behind trim and clear of airbag zones, as in the general install guide.
- Connect and tidy. Plug the kit into the camera, fix the control box out of sight with a clip or cable tie, and bundle slack in a loop.
- Test. Start and stop the engine and confirm the camera switches between normal and parking mode as set.
Choosing the right circuits
Constant circuits remain live with the car off, so the camera can record in parking mode. Switched circuits only power up with the ignition. The wise approach is to use circuits that are not used for safety, keep the load small and always add the tap in the correct orientation; a tap fitted backwards can leave the circuit unprotected. An installer who works on many cars builds a short list of known-good slots for the models they see most. A training sheet with those slots saves time and avoids trial and error on the customer's car.
If the car already has a dash cam or other devices on the same fuse, check that the total load stays well within that circuit's rating. The camera and kit draw little, but the circuit still has a limit.
Low-voltage cutoff in practice
The control box monitors battery voltage and cuts power when it falls to a set level. Most kits offer selectable cutoff settings so the installer can match the car: a higher cutoff preserves starting power in cold climates or on older batteries, a lower cutoff gives longer parking recording. Treat the setting as adjustable and check it against the car's battery condition. The battery drain note goes through the trade-off.
Testing and common faults
- Camera does not power up: check the fuse tap orientation, the ground contact and that the chosen slot is actually live.
- Camera reboots: usually a loose ground or a connector not fully seated.
- Parking mode never starts: the switched wire may be connected to a constant slot, so the kit always thinks the engine is running.
- Battery warning on the dashboard: check with the manufacturer; some vehicles monitor current draw and need a different circuit choice.
Vehicles that need extra care
Not every fuse box is a simple job. Newer cars often have more than one fuse box, with the interior one under the dash and another in the engine bay, and some use battery-management or start-stop systems that react to small changes in current draw. Hybrid and electric vehicles add a high-voltage system that must never be touched, although the 12V accessory side is normally separate and documented in the manual. Cars with a central body-control module can log a fault when a circuit is tapped carelessly. In all these cases, read the manual first, choose the circuit it identifies as suitable for accessories, and consider sending the customer to a professional shop. A seller that says this plainly in the quick-start sheet earns trust and avoids blame for avoidable faults.
For installers and resellers
If you sell kits, include a fuse tap assortment, a printed circuit-selection sheet and a ground ring terminal in the box. Bundles with matching fuse sizes cut the most common return reason. For program-level help, the parking-mode accessories page lists what can be assembled, and the distributors and installers page explains how bundles are specified. Send the vehicle mix you expect in a quote request and the desk will match tap types and cutoff presets in writing.