
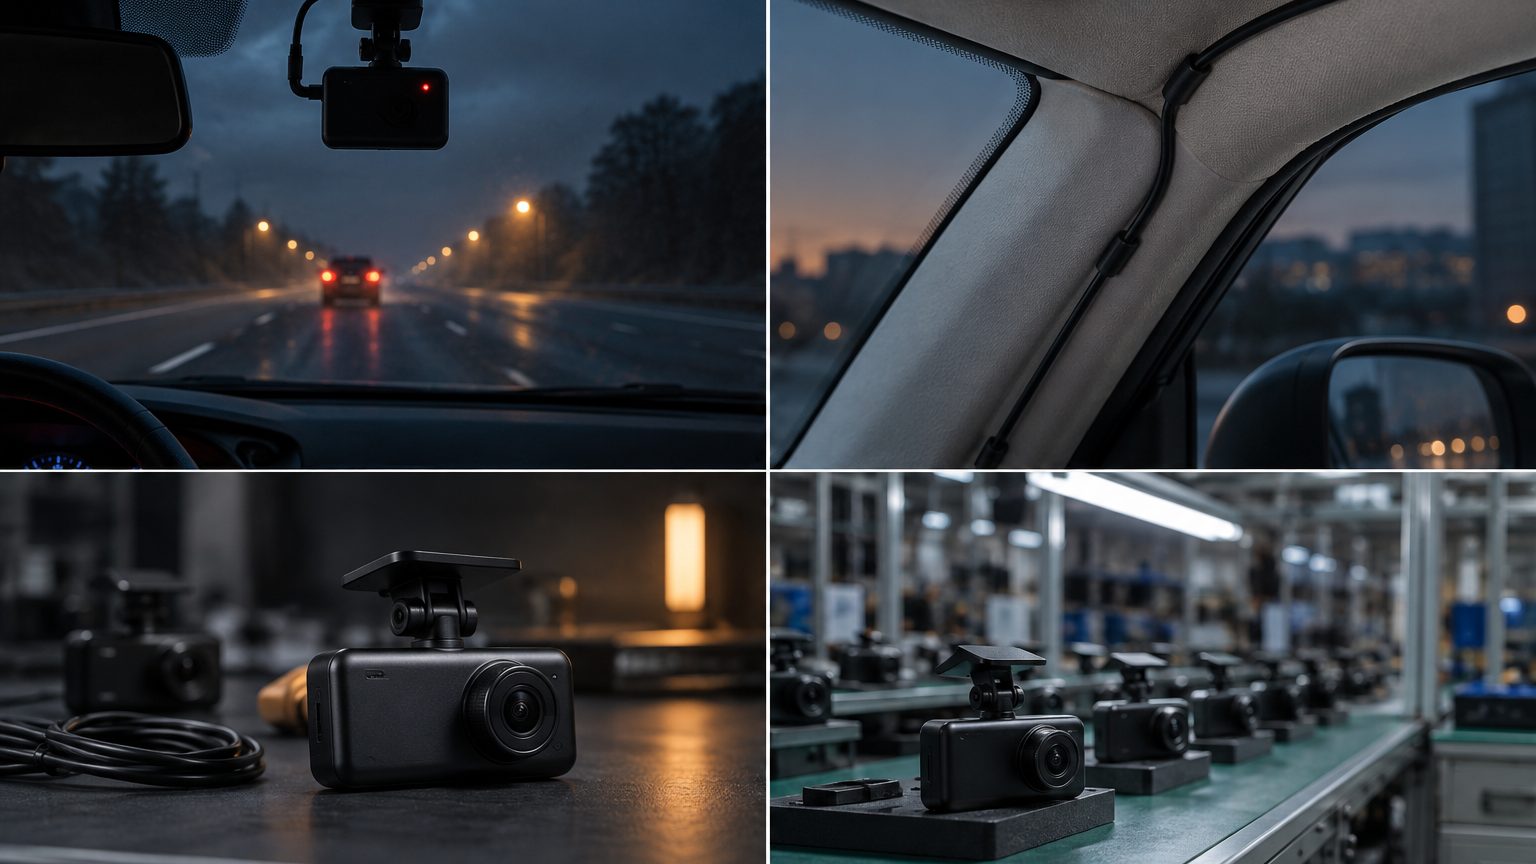
Plan the install before peeling any tape
Most poor installs come from skipping the planning minute. Sit in the driver's seat and decide four things: where the front camera will sit, where the cable will leave it, where it will enter the trim, and where power will come from. A front-only camera needs one cable run; a front and rear set needs a second, longer run to the back window. If the car has a rain sensor, a camera bracket, or a tinted band at the top of the glass, note those now, because they limit where the unit can go. The placement note explains the viewing-zone logic in detail.
Gather the parts before you start: the camera and its bracket, the power cable, a trim tool or plastic pry tool, a few small cable clips, a microfiber cloth, and isopropyl wipes for the glass. A formatted high-endurance card should already be in the camera; see the SD card lines for what to bundle.
Choose the power route
There are three common ways to power a dash cam, and the choice drives how long the job takes and what the camera can do afterwards.
| Power route | Typical time | Parking mode | Best for |
|---|---|---|---|
| 12V socket cable | Short; no tools beyond a trim tool | No, unless the socket stays live | Drive-time recording, DIY buyers |
| Hardwire kit to fuse box | Longer; needs fuse tap and ground point | Yes, with a low-voltage cutoff | Parking mode, tidy installs |
| OBD power cable | Short; plugs into the diagnostic port | Depends on vehicle and cable | Quick installs where it fits |
For buyers selling to everyday drivers, the socket cable is the default in the box. For anyone who wants parking mode, a hardwire kit is the standard answer. The two deeper notes are how to hardwire and OBD power cables.
Step-by-step: the socket cable install
- Clean the glass. Wipe the mounting spot with an isopropyl wipe and let it dry. Adhesive mounts hold poorly on dust or residue.
- Dry-fit the camera. Hold the camera in position with the engine off, check the framing on the screen or app, and make sure the lens sees the road and not the dashboard or hood.
- Fix the mount. Press the adhesive pad firmly against the glass for the time the mount instructions state, then attach the camera.
- Route the cable along the headliner. Tuck the cable into the gap between the glass and the headliner, working toward the passenger-side A-pillar.
- Run down the A-pillar. Tuck the cable behind the pillar trim, keeping it clear of any airbag marking, and continue behind the glove box or along the door seal to the socket.
- Plug in and secure. Connect to the 12V socket, clip any loose lengths out of the foot area, and leave a small loop at the camera so the bracket can still be adjusted.
- Set up and test. Set date, time and language, start the engine, confirm recording begins, and play a short clip back.
Setup menu: what to set on day one
A camera that records badly is usually a camera with default settings nobody reviewed. Walk the owner through the same short list each time:
- Date, time and time zone. A wrong clock weakens footage as evidence.
- Resolution and loop length. Choose the highest native setting the card supports; one to three minute segments are normal.
- G-sensor sensitivity. Start at medium; too high locks a clip at every pothole and fills the protected folder.
- Parking mode. Leave it off until a hardwire kit is fitted.
- Format the card in the camera. Do this once after installing, not before.
Checks before the customer drives away
A two-minute test saves a return later. Confirm the camera powers up with the ignition and records without prompts. Pull a clip and check the image: horizon roughly in the middle, wipers and hood edge not dominating, no reflection of the dashboard in the glass. With a rear camera, check both views are present and that the rear cable cannot be pinched by the tailgate. If the unit has WiFi, pair it with a phone once so the owner has seen the app work. These checks fit on a single laminated card for installer shops.
Common mistakes
- Cable hanging across the windshield. Looks untidy and can swing into the driver's line of sight.
- Camera too low. The image fills with hood and dashboard glare.
- Mount fixed to cold or dirty glass. The pad lets go on the first hot day.
- Using a socket that switches off with the key, then expecting parking mode to work.
- No card check. The camera looks active but the card is full of errors.
After the install: a short owner briefing
The last two minutes with the owner prevent most follow-up questions. Show where the card sits and how to remove it, how to lock a clip with the button, and what the status light or beep means. Explain that the camera records only what it sees, so a dirty windshield or a sun visor covering the lens will spoil the footage. Remind the owner to check the clock after daylight saving changes and to look at a recorded clip once a month. For fleet customers, add a line about who is responsible for pulling footage and how long clips are kept. A printed card with these points, in the buyer's language, is cheap to include and is one of the easiest ways to make a plain product feel professional.
What sellers and installers can add
For a business buyer, the installation experience is part of the product. A bundle that includes trim tools, cable clips, spare adhesive pads and a one-page install card cuts support messages noticeably. Installer shops can standardize the process further with the kit ideas in the installation kits note, and distributors can ask for printed quick-start sheets in the buyer's language. The distributors and installers page lists what Roadtrace coordinates for those programs, and the quote form is the place to describe your bundle in a few lines.