
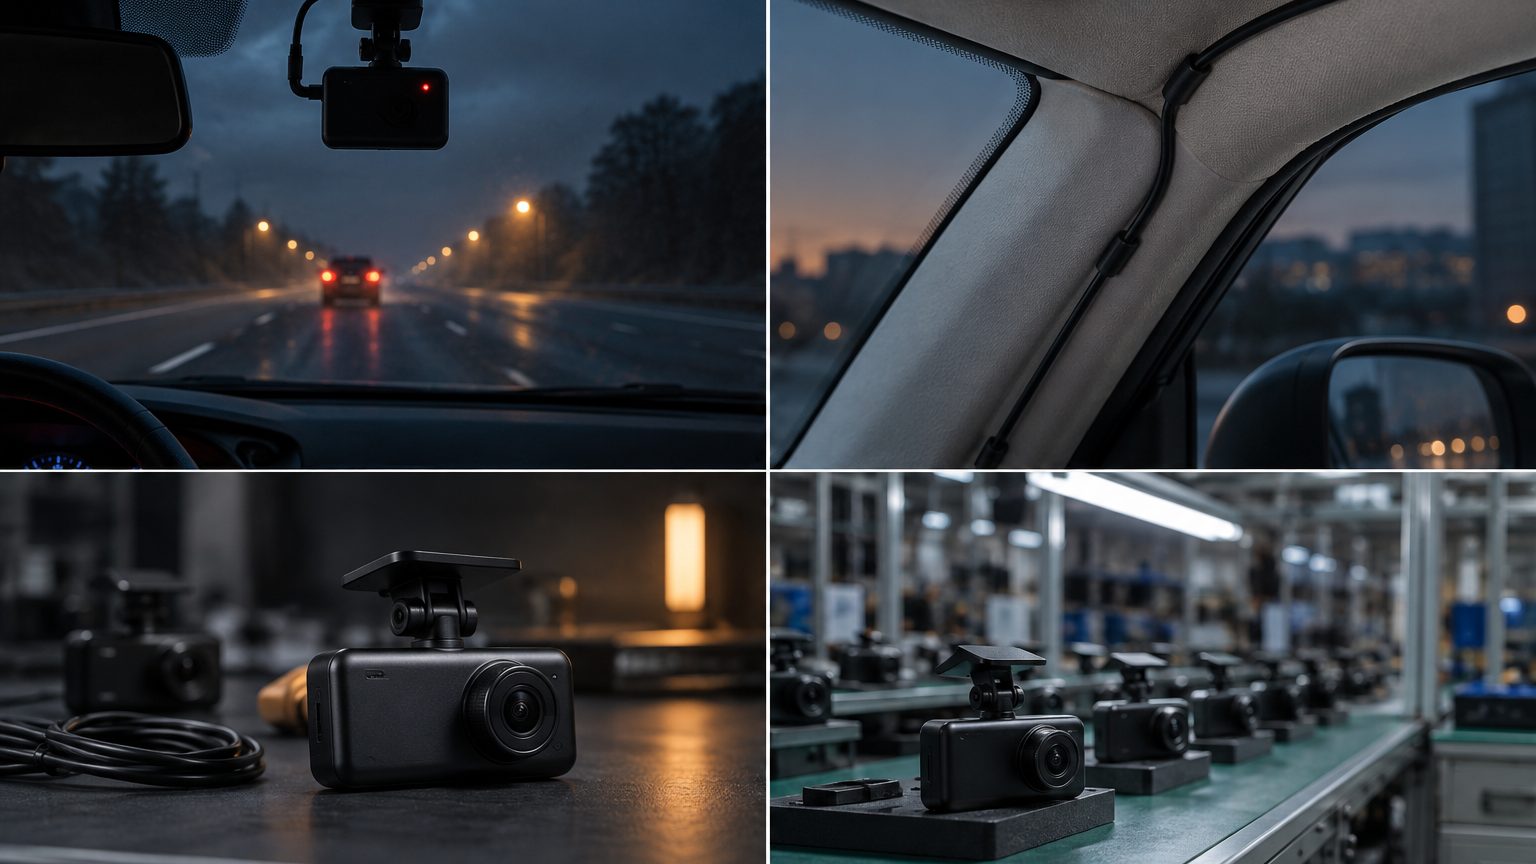
Why the mount matters
A dash cam is a precise optical device carried on a flexible, vibrating, sun-baked piece of glass. If the mount flexes, the image shakes and the plate detail the camera was bought for disappears. If the mount fails in heat, the camera falls into the footwell and the owner assumes the product is poor. For sellers, the mount is also the most common reason for a cheap-looking unboxing. A good mount costs little, is small in the box, and prevents a surprising share of complaints. It deserves a line on the spec sheet, not an afterthought.
The three main mount types
| Mount | How it holds | Strengths | Limits |
|---|---|---|---|
| Adhesive pad | Pressure-sensitive tape bonded to the glass | Most stable; low profile; hides behind the mirror | Hard to reposition; needs clean, dry glass |
| Suction cup | Vacuum pressed against the glass | Easy to move between cars; no residue | Can release in heat or on curved glass; more vibration |
| Rearview mirror bracket | Straps or clips around the mirror housing | No glass contact; fits mirror-style cameras | Fit depends on mirror shape; can add mirror weight |
Hidden and mini cameras generally use an adhesive pad, which gives the smallest footprint. Mirror dash cams use the bracket by design; the mirror dash cam note goes through the trade-offs.
Adhesive mounts
For most cars, a good adhesive mount is the right answer. It holds the camera still, it is neat, and it sits behind the mirror where the driver rarely sees it. The tape quality matters: higher-grade foam tape tolerates cabin heat and temperature swings, while thin tape peels. The glass must be clean and the pad pressed firmly for the time the instructions state. A common installer practice is to dry-fit first, mark the position with a pen on the outside of the glass if the car allows, then press the pad on. A second practice is to leave the car parked for a short time before the first drive so the bond can settle. The downside is repositioning: a peeled pad loses most of its hold, so a spare pad should be part of the bundle.
Suction cup mounts
Suction mounts suit buyers who move the camera between vehicles, such as rental cars, shared company cars or owners with a spare car. They leave no residue and need no tools. The trade-off is reliability: suction depends on a smooth, clean surface, and heat can soften the cup so it loses grip. Dashboard-mounted suction cups on curved glass often vibrate more. For heavy cameras, such as dual-lens or 4K units with screens, an adhesive mount is more stable. Quality suction cups use softer, UV-resistant material and a locking lever, which makes the grip more durable. A hybrid design, where the cup sits on a base that is itself glued, is available for programs that need removal but want stability.
Mirror bracket mounts
Mirror cameras clip or strap over the existing mirror, giving a large display and a camera in one piece. The bracket keeps the camera off the glass, which suits drivers who dislike adhesive on the windshield. Fit varies: mirror shapes differ, and a bracket that is too loose will wobble. Look for rubber pads, adjustable straps and a spare strap in the box. As the whole unit hangs on the mirror, weight matters, so check that a front and rear mirror set is stable at the speeds your market drives. The front and rear lines include mirror versions for programs that want them.
Heat, glass and tint
- Heat: a closed car in sunlight gets hot enough to soften tape and cups; ask for a mount material described as heat-resistant on the spec sheet and test a sample in a warm cabin.
- Glass coatings: some windshields have coatings or a top tinted band that reduce adhesion. Mount below the band if the instructions say so.
- Curvature: a strongly curved windshield needs a flexible base or an angled pad.
- Heated windshield areas: avoid mounting over heating elements or sensor windows unless the manual allows.
For hot-climate programs, see dash cams for hot and cold climates.
Choosing the right mount in a program
- Define the vehicle mix and note windshield shapes, tint bands and sensors.
- Decide fixed or portable. Fixed installs use adhesive; shared vehicles use suction or a quick-release base.
- Pick the camera type. Mini and hidden units need the smallest pad; larger units need a stronger fix.
- Ask for a heat test sample and leave it in a warm cabin for a day.
- Add spares. Include a spare adhesive pad, a cleaning wipe and, where relevant, a spare strap or cup.
Quick-release and special cases
Some programmes need a mount that is secure but removable: shared company cars, test drives, or cameras moved between a private car and a work van. Quick-release bases solve this by gluing a small plate to the glass and clicking the camera onto it. Other special cases include dashboards instead of glass, where a weighted or adhesive dashboard base is used where local rules forbid windshield mounting, and motorcycle or powersport mounts that use handlebar clamps rather than glass. Check local rules before recommending a dashboard position, because placement law varies by region, as covered in windshield mounting rules. Whatever the base, the same test applies: the image must stay steady on a rough road, not only in the car park.
Bundles and packaging
A bundle that contains the right mount, spares and a one-page placement guide looks professional and cuts questions. The mount should be photographed on the packaging because buyers check how the camera will attach before they buy. Neutral or logo packaging is possible; see private label packaging for what can be printed, and the MOQ and lead time reference for typical order sizes confirmed in writing. For placement guidance, point customers to where to place a dash cam, and to the quote form to specify mounts for a new line.