
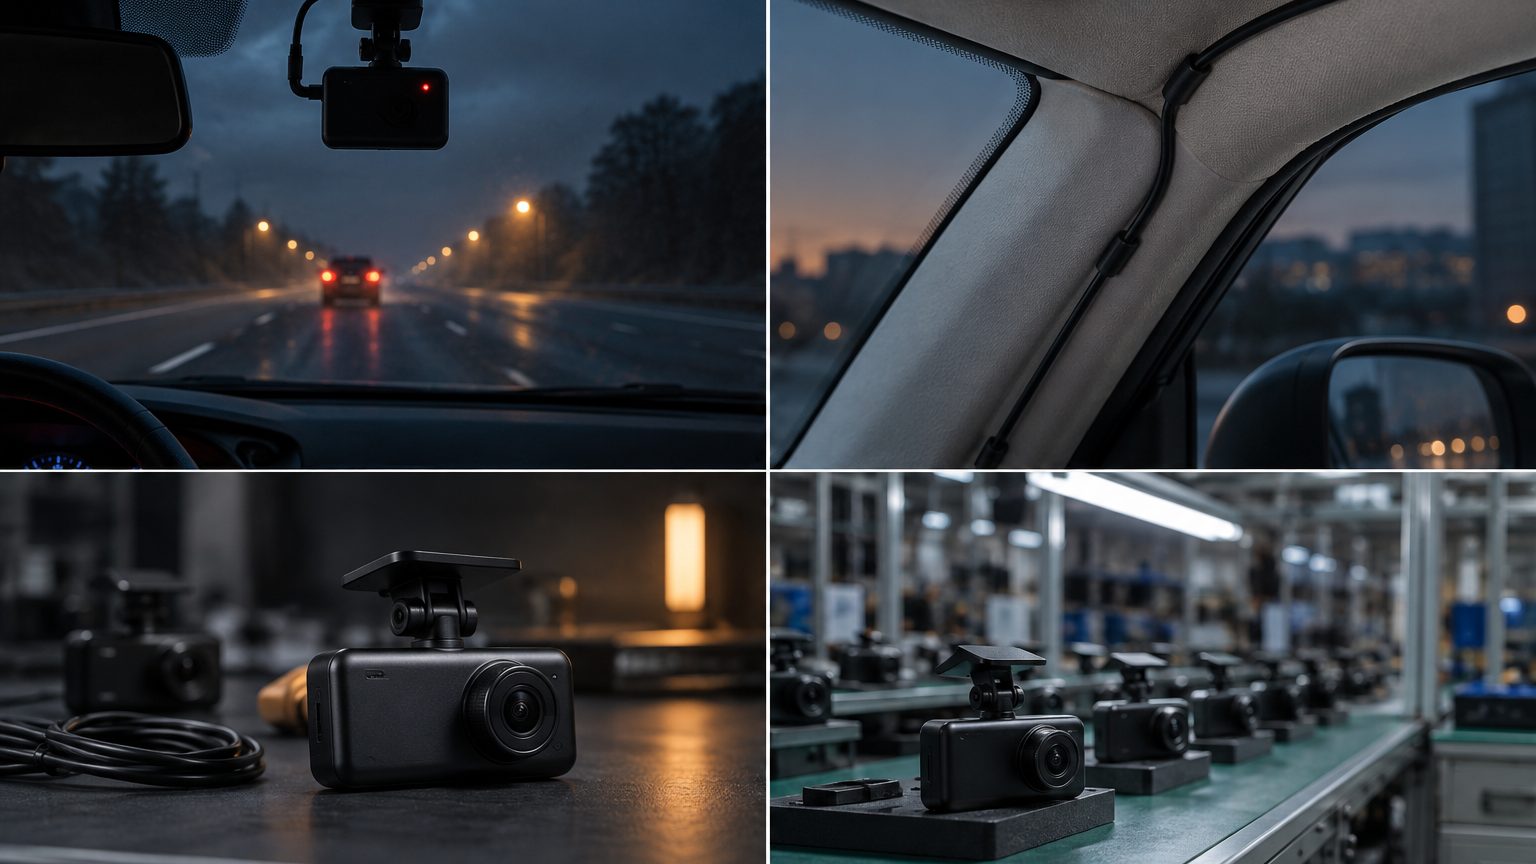
The default position
In most cars, the best spot is behind the rearview mirror, on the passenger side of the mirror stem or centred if the glass allows. It is high on the glass, which gives the lens a clear view over the hood, it keeps the camera out of the driver's line of sight, and it usually sits within the wiper sweep so rain does not blur the view. The camera should be horizontal, with the lens pointed slightly down so the horizon sits near the middle of the frame. The road should fill about two thirds of the image and the hood no more than a thin strip. This simple rule fixes most poor footage.
What else lives on the windshield
| Item | Where it sits | What to do |
|---|---|---|
| Rain and light sensor | Behind the mirror housing | Do not cover it; mount beside it |
| Driver-assistance camera | Behind the mirror, facing forward | Keep clear; do not obstruct its view |
| Tint band | Top edge of the glass | Mount below it if adhesion or lens view is poor |
| Toll tag or sticker | Often near the mirror | Choose a position that does not overlap |
| Heated or coated areas | Depends on the model | Check the manual before mounting |
Modern windshields can have several sensors in the area behind the mirror, which is why dash cams are sometimes mounted to the side of the mirror stem or just below the tint band. The vehicle manual shows where sensors sit.
Height, angle and field of view
Field of view changes what the camera sees at a given spot. A wide angle includes more of the roadside but shrinks distant detail, while a narrower angle reads plates farther away but misses the edges. See the field of view guide for details. As a rule, wide-angle cameras tolerate a lower position than narrow ones, but any camera placed too low will fill the frame with dashboard reflection. Tilt the lens until the horizon sits just above the centre line, then check that the bonnet is visible only at the very bottom. Rear cameras use the same rule: the road behind should dominate the picture.
A placement method installers can repeat
- Sit in the driver's seat and note the driver's eye line. The camera should not sit in it.
- Hold the camera behind the mirror with the engine off and check the live view on the screen or app.
- Adjust tilt until the horizon is a little above the middle and the hood is a thin strip.
- Check for sensors and the wiper sweep: confirm the lens is within the cleaned area.
- Mark the position with a removable marker or tape on the inside.
- Clean the glass and attach the mount at the marked position.
- Route the cable neatly to the A-pillar, as in the install guide.
- Take a test drive or run a short clip to confirm the framing under real conditions.
Common placement mistakes
- Too low or too far left. The camera sits in the driver's view and fills with dashboard reflection.
- Outside the wiper sweep. Rain collects on the glass in front of the lens.
- Covering a sensor. Rain sensors or driver-assist cameras may stop working properly.
- Tilted up. Too much sky causes an underexposed road.
- Loose bracket. The angle drifts over time and framing is lost.
Front, rear and cabin cameras
A front and rear set adds a second placement decision. The rear camera sits high and centred on the back glass, with the lens pointed slightly down and clear of the third brake light. In hatchbacks and SUVs, the glass is often steeply raked, so the rear camera needs its own adhesive angle. A cabin camera for rideshare points at the seats, usually from the front unit; it should be positioned so it captures the passenger seats without covering the driver's view. See rideshare dash cams for the cabin cases and rear camera cable routing for the cable side.
Vans, trucks and tall vehicles
In vans and trucks the windshield is large and upright, so the mirror is far from the glass top. The standard spot is still high and near the centre, but sensors may differ and some vehicles have a tinted band that is deep. Because the driver sits higher, the horizon sits differently, and the angle may need to be tilted down further. Fleet programs should photograph the approved position for each vehicle class and keep it on a reference card. The trucking dash cams page and the note on truck installation cover specifics.
Placement and footage quality
Placement also affects what the footage proves. A camera mounted high and centred records licence plates earlier and keeps the road centred, which helps when a clip is used in a claim. A camera mounted low, or at an angle, records more dashboard and less road, and glare from the dash shows up in the glass. Resolution cannot fix a bad position: a 4K camera aimed at the hood wastes its detail. The footage as evidence note lists what makes a clip useful, and placement is the first item on that list. For the same reason, check the framing again after a windshield replacement or a new mount, because a small change in position changes the whole picture.
A placement checklist for training sheets
| Check | Pass condition |
|---|---|
| Horizon | A little above the middle of the frame |
| Hood in view | Thin strip at the bottom only |
| Wiper sweep | Lens inside the cleaned zone |
| Driver view | Camera outside the driver's eye line |
| Sensors | No sensor or camera covered |
| Cable | Hidden in the headliner, none across the glass |
Laminated copies of this checklist help installer shops keep results consistent between staff. Distributors can include a small version in each box; see the distributors and installers page for bundle ideas, and send details of the packaging you want through the quote form.