
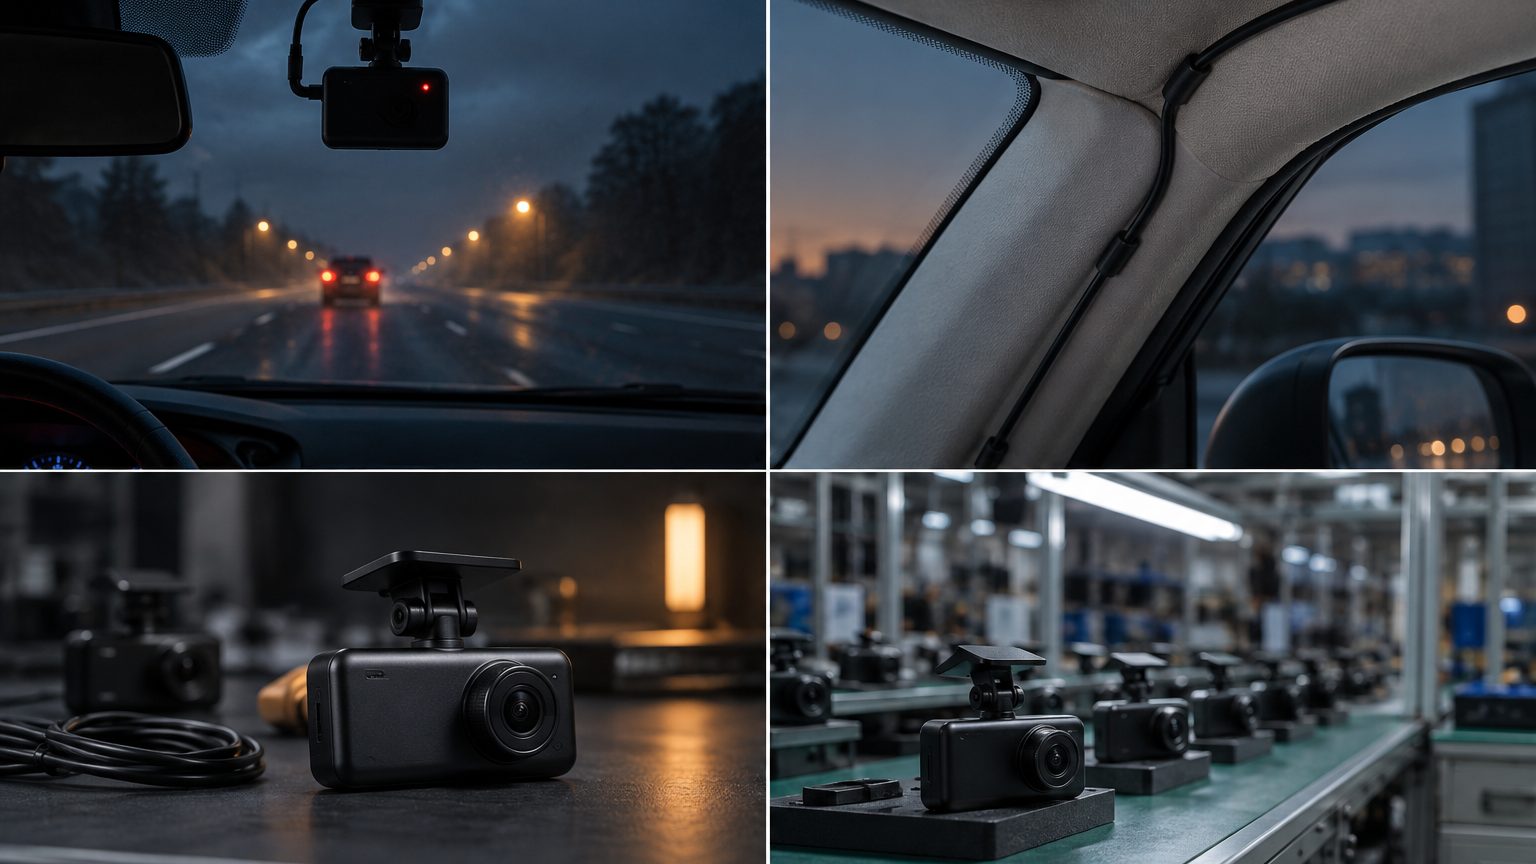
Why the rear cable causes most installation problems
A front and rear dash cam adds a second camera and a long cable that links it to the front unit. Buyers underestimate three things: how long the cable has to be once it follows trim, how much the cable moves at the tailgate or boot lid, and how many panels have to come off. A cable that runs in a straight line across the roof looks easy on paper but never works in practice. Getting this right is the difference between a satisfied customer and a support message about a flickering rear image. If you sell dual-channel sets, the 4K front and rear line shows the cable lengths normally supplied.
Choose the route by vehicle type
| Vehicle type | Typical route | Watch for |
|---|---|---|
| Sedan | Headliner, down the C-pillar, along the parcel shelf to the rear glass | Rear speaker area; airbags in the pillars |
| Hatchback and SUV | Headliner to the tailgate, through a rubber grommet or along the door seal | Flex point at the tailgate hinge; wiper wiring |
| Van with partition | Along the roof lining or cable channel to the rear doors | Metal ribs, sharp edges, long length needed |
| Pickup | Cabin rear window; cable stays inside | Camera angle through tinted glass |
| Truck cab | Rear of cab or cargo area | Separate cable length and connector; see truck note |
The truck and van installation note covers the heavy-vehicle cases in more detail.
The basic route, step by step
- Mount the front camera first and confirm the front image, so any later problem is easier to isolate.
- Plan the rear route. Place the cable loosely along its path without tucking anything yet, to check the length and the exit point at the rear glass.
- Start at the front. Tuck the cable into the headliner gap from the front camera along one side, toward the A-pillar, and continue along the roof edge.
- Pass the B and C pillars. Tuck behind the trim, keeping clear of airbag markings and the seat-belt anchors.
- Cross the flex point. At the tailgate or boot lid, leave a gentle loop of slack inside a protective sleeve so it bends rather than stretches.
- Fix the rear camera. Clean the glass, attach the mount high and centred, and check that the image shows the road behind and not the rear shelf.
- Test the full system. Connect power, confirm both channels record, and play back each view.
Tools that make the job faster
- Plastic trim tool to lift pillar covers without marks.
- Cable tuck tool or a thin spatula to push cable into narrow gaps.
- Fabric tape in place of PVC tape; it stops rattles and does not leave residue.
- Spiral sleeve or corrugated tubing for the flex point.
- Small cable clips to hold loose runs where the headliner gap is too tight.
The flex point
The tailgate or rear door joint is where cables fail. Every opening bends the cable, and a cable pulled too tight breaks conductors inside the jacket, which shows up as a rear image that flickers or drops out. Use the rubber grommet already in the body where the factory wiring passes, if there is space, and leave enough slack for the door to open fully without pulling. Protect the section that bends with a sleeve and fix it so the bend always happens at the same place. Test by opening and closing the tailgate several times with the camera running.
Cable length and spare length
The supplied cable should be longer than the shortest path, because the real path follows trim and curves. Typical dual-channel sets include a cable length chosen for passenger cars, with an extended version for SUVs and vans. Specify the lengths per vehicle type in your listing so buyers choose the right set, and consider bundling a longer cable as an option. Tuck spare length into a flat coil behind the headliner rather than hanging it down. The desk can have extension cables added for programs that cover trucks and vans; quote details are given in the MOQ and lead time reference.
Common mistakes and quick fixes
- Cable pinched in a door seal: a pinched cable gives intermittent video. Re-route behind the seal, not under it.
- Rear camera pointed at the shelf: tilt it until the road occupies the lower two-thirds of the frame.
- Tint blocks the image: mount the rear camera on a clear section or between tint edges if the glass allows.
- Sticky residue: use a mount designed for the glass and clean thoroughly beforehand.
- Cable too short: not enough slack for the flex point; swap for the extended length.
Checking the finished job
Before the customer leaves, sit in the rear seat and look at the cable run: nothing should hang, rub or catch light. Open and close the tailgate and each rear door once with the camera running, then replay the rear clip and look for dropouts. Check that the rear image is level and that the plate of a following car would fit in the frame at a few car lengths. Finally, press on the trim panels you removed and listen for rattles, because a loose pillar cover is the most common comment after a rear camera install. Photograph the finished route for the job record; it helps if the customer returns later with a question.
For installer shops and sellers
A printed route diagram per vehicle type makes training faster, and a standard kit of sleeves, clips and fabric tape keeps results consistent between installers. Many shops build their own sheets over time; see the installation kits note for what to include. The distributors and installers page describes bundle and packaging options, and a quote request with your vehicle mix helps the desk specify cable lengths up front.